
'%3e%3cpath%20d='M9%2021H15'%20stroke='black'%20stroke-width='2'%20stroke-linecap='round'%20stroke-linejoin='round'/%3e%3cpath%20d='M5.25001%209.75C5.25001%207.95979%205.96116%206.2429%207.22703%204.97703C8.4929%203.71116%2010.2098%203%2012%203C13.7902%203%2015.5071%203.71116%2016.773%204.97703C18.0388%206.2429%2018.75%207.95979%2018.75%209.75C18.75%2013.1081%2019.5281%2015.8063%2020.1469%2016.875C20.2126%2016.9888%2020.2472%2017.1179%2020.2474%2017.2493C20.2475%2017.3808%2020.2131%2017.5099%2020.1475%2017.6239C20.082%2017.7378%2019.9877%2017.8325%2019.8741%2017.8985C19.7604%2017.9645%2019.6314%2017.9995%2019.5%2018H4.50001C4.36874%2017.9992%204.23997%2017.964%204.12659%2017.8978C4.0132%2017.8317%203.91916%2017.7369%203.85387%2017.6231C3.78858%2017.5092%203.75432%2017.3801%203.75452%2017.2489C3.75472%2017.1176%203.78937%2016.9887%203.85501%2016.875C4.47282%2015.8063%205.25001%2013.1072%205.25001%209.75Z'%20stroke='black'%20stroke-width='2'%20stroke-linecap='round'%20stroke-linejoin='round'/%3e%3c/g%3e%3cdefs%3e%3cclipPath%20id='clip0_4762_133'%3e%3crect%20width='24'%20height='24'%20fill='white'/%3e%3c/clipPath%3e%3c/defs%3e%3c/svg%3e)
'%3e%3cpath%20d='M24%200H0V24H24V0Z'%20fill='white'%20fill-opacity='0.01'/%3e%3cpath%20d='M12%2011C14.2091%2011%2016%209.20914%2016%207C16%204.79086%2014.2091%203%2012%203C9.79086%203%208%204.79086%208%207C8%209.20914%209.79086%2011%2012%2011Z'%20stroke='black'%20stroke-width='2'%20stroke-linecap='round'%20stroke-linejoin='round'/%3e%3cpath%20d='M4%2021V20.4857C4%2018.5655%204%2017.6055%204.38753%2016.872C4.72841%2016.2269%205.27235%2015.7024%205.94138%2015.3737C6.70196%2015%207.6976%2015%209.68889%2015H14.3111C16.3024%2015%2017.298%2015%2018.0586%2015.3737C18.7276%2015.7024%2019.2716%2016.2269%2019.6125%2016.872C20%2017.6055%2020%2018.5655%2020%2020.4857V21'%20stroke='black'%20stroke-width='2'%20stroke-linecap='round'%20stroke-linejoin='round'/%3e%3c/g%3e%3cdefs%3e%3cclipPath%20id='clip0_4762_139'%3e%3crect%20width='24'%20height='24'%20fill='white'/%3e%3c/clipPath%3e%3c/defs%3e%3c/svg%3e)

懒猫微服进阶心得(四):每次重启都丢配置?用 systemctl --user 自动装回环境!
忘机山人
发布于404天前博客图片修整中,看不了可以先搜索公众号“忘机山人”看。
在懒猫微服中,为了防止用户误操作破坏系统,默认启用了“重启还原机制”——每次重启都会还原大部分系统改动。不过,用户主目录的数据是保留的(例如 /root/),这就给我们留下了一条生路。
以往每次重启后,我都要手动重新安装 htop、sudo、httpie 等工具,重复操作实在麻烦。之前在 VIP 群里沟通过能否允许使用 systemctl 自启脚本,现在终于支持了 systemctl --user 的开机启动功能,第一时间来体验一下!
💻 安装脚本 init.sh
我们把需要安装的软件统一写进一个脚本,只安装未安装的部分,避免重复浪费时间。同时也支持远程安装一些工具,例如 superfile。
#!/usr/bin/env bash
set -e  # 任意步骤失败立即终止

PACKAGES=(
  sudo
  htop
  wget
  build-essential
  httpie
  exa
  duf
  bat
  # 可以继续添加:docker.io nodejs ...
)

need_install=()

for pkg in "${PACKAGES[@]}"; do
  if ! dpkg -s "$pkg" &>/dev/null; then
    need_install+=("$pkg")
  fi
done

if (( ${#need_install[@]} )); then
  echo "==> Installing: ${need_install[*]}"
  apt-get update
  DEBIAN_FRONTEND=noninteractive apt-get install -y "${need_install[@]}"
else
  echo "==> All packages already installed."
fi

# 安装 Superfile 工具
if command -v curl &>/dev/null; then
  echo "==> Installing Superfile (from https://superfile.netlify.app)"
  bash -c "$(curl -sLo- https://superfile.netlify.app/install.sh)"
else
  echo "❌ curl not found, skipping Superfile install"
fi
你可以把这个脚本保存为 /root/init.sh(懒猫微服会保留这个路径),并赋予执行权限:
chmod +x /root/init.sh
⚙ systemd 用户服务配置
由于懒猫微服现在支持 systemctl --user,我们就可以通过用户级 systemd 服务在登录后自动执行该脚本。
在 ~/.config/systemd/user/ 目录下创建服务文件:
mkdir -p ~/.config/systemd/user
vim ~/.config/systemd/user/bootstrap-packages.service
内容如下:
[Unit]
Description=Bootstrap Required Packages

[Service]
Type=oneshot                  # 关键修改!表示一次性任务
ExecStart=/root/init.sh
RemainAfterExit=yes           # 任务完成后仍标记为 "active"(可选)
# Restart=no                 # 默认就是 no,可省略

[Install]
WantedBy=default.target
注意事项:
ExecStart使用/root/init.sh是因为懒猫微服重启不会清空 root 目录;- 这是一个 oneshot(一次性任务),运行完就退出;
default.target是用户级别的“登录后启动”目标。
🧪 启用和调试服务
配置好之后,使用以下命令启动并设置自动运行:
systemctl --user daemon-reload                       # 重新加载用户服务配置
systemctl --user start bootstrap-packages.service    # 手动运行一次(测试用)
systemctl --user status bootstrap-packages.service   # 查看服务状态和日志
systemctl --user enable bootstrap-packages.service   # 设置登录后自动运行
示例运行结果:
systemctl --user start bootstrap-packages.service
systemctl --user status bootstrap-packages.service
输出如下:
○ bootstrap-packages.service - Bootstrap Required Packages
     Loaded: loaded (/root/.config/systemd/user/bootstrap-packages.service; enabled; preset: enabled)
     Active: inactive (dead) since Thu 2025-05-29 20:13:58 CST; 941ms ago
   Duration: 6.438s
    Process: 142818 ExecStart=/root/init.sh (code=exited, status=0/SUCCESS)
   Main PID: 142818 (code=exited, status=0/SUCCESS)
        CPU: 350ms

May 29 20:13:53 lzcbox-029c588e init.sh[142926]: Downloading superfile v1.3.1 for linux (amd64)...
May 29 20:13:58 lzcbox-029c588e init.sh[142926]: Installing superfile...
May 29 20:13:58 lzcbox-029c588e init.sh[142926]: 🎉 Installation complete!
May 29 20:13:58 lzcbox-029c588e init.sh[142926]: You can type "spf" to start!
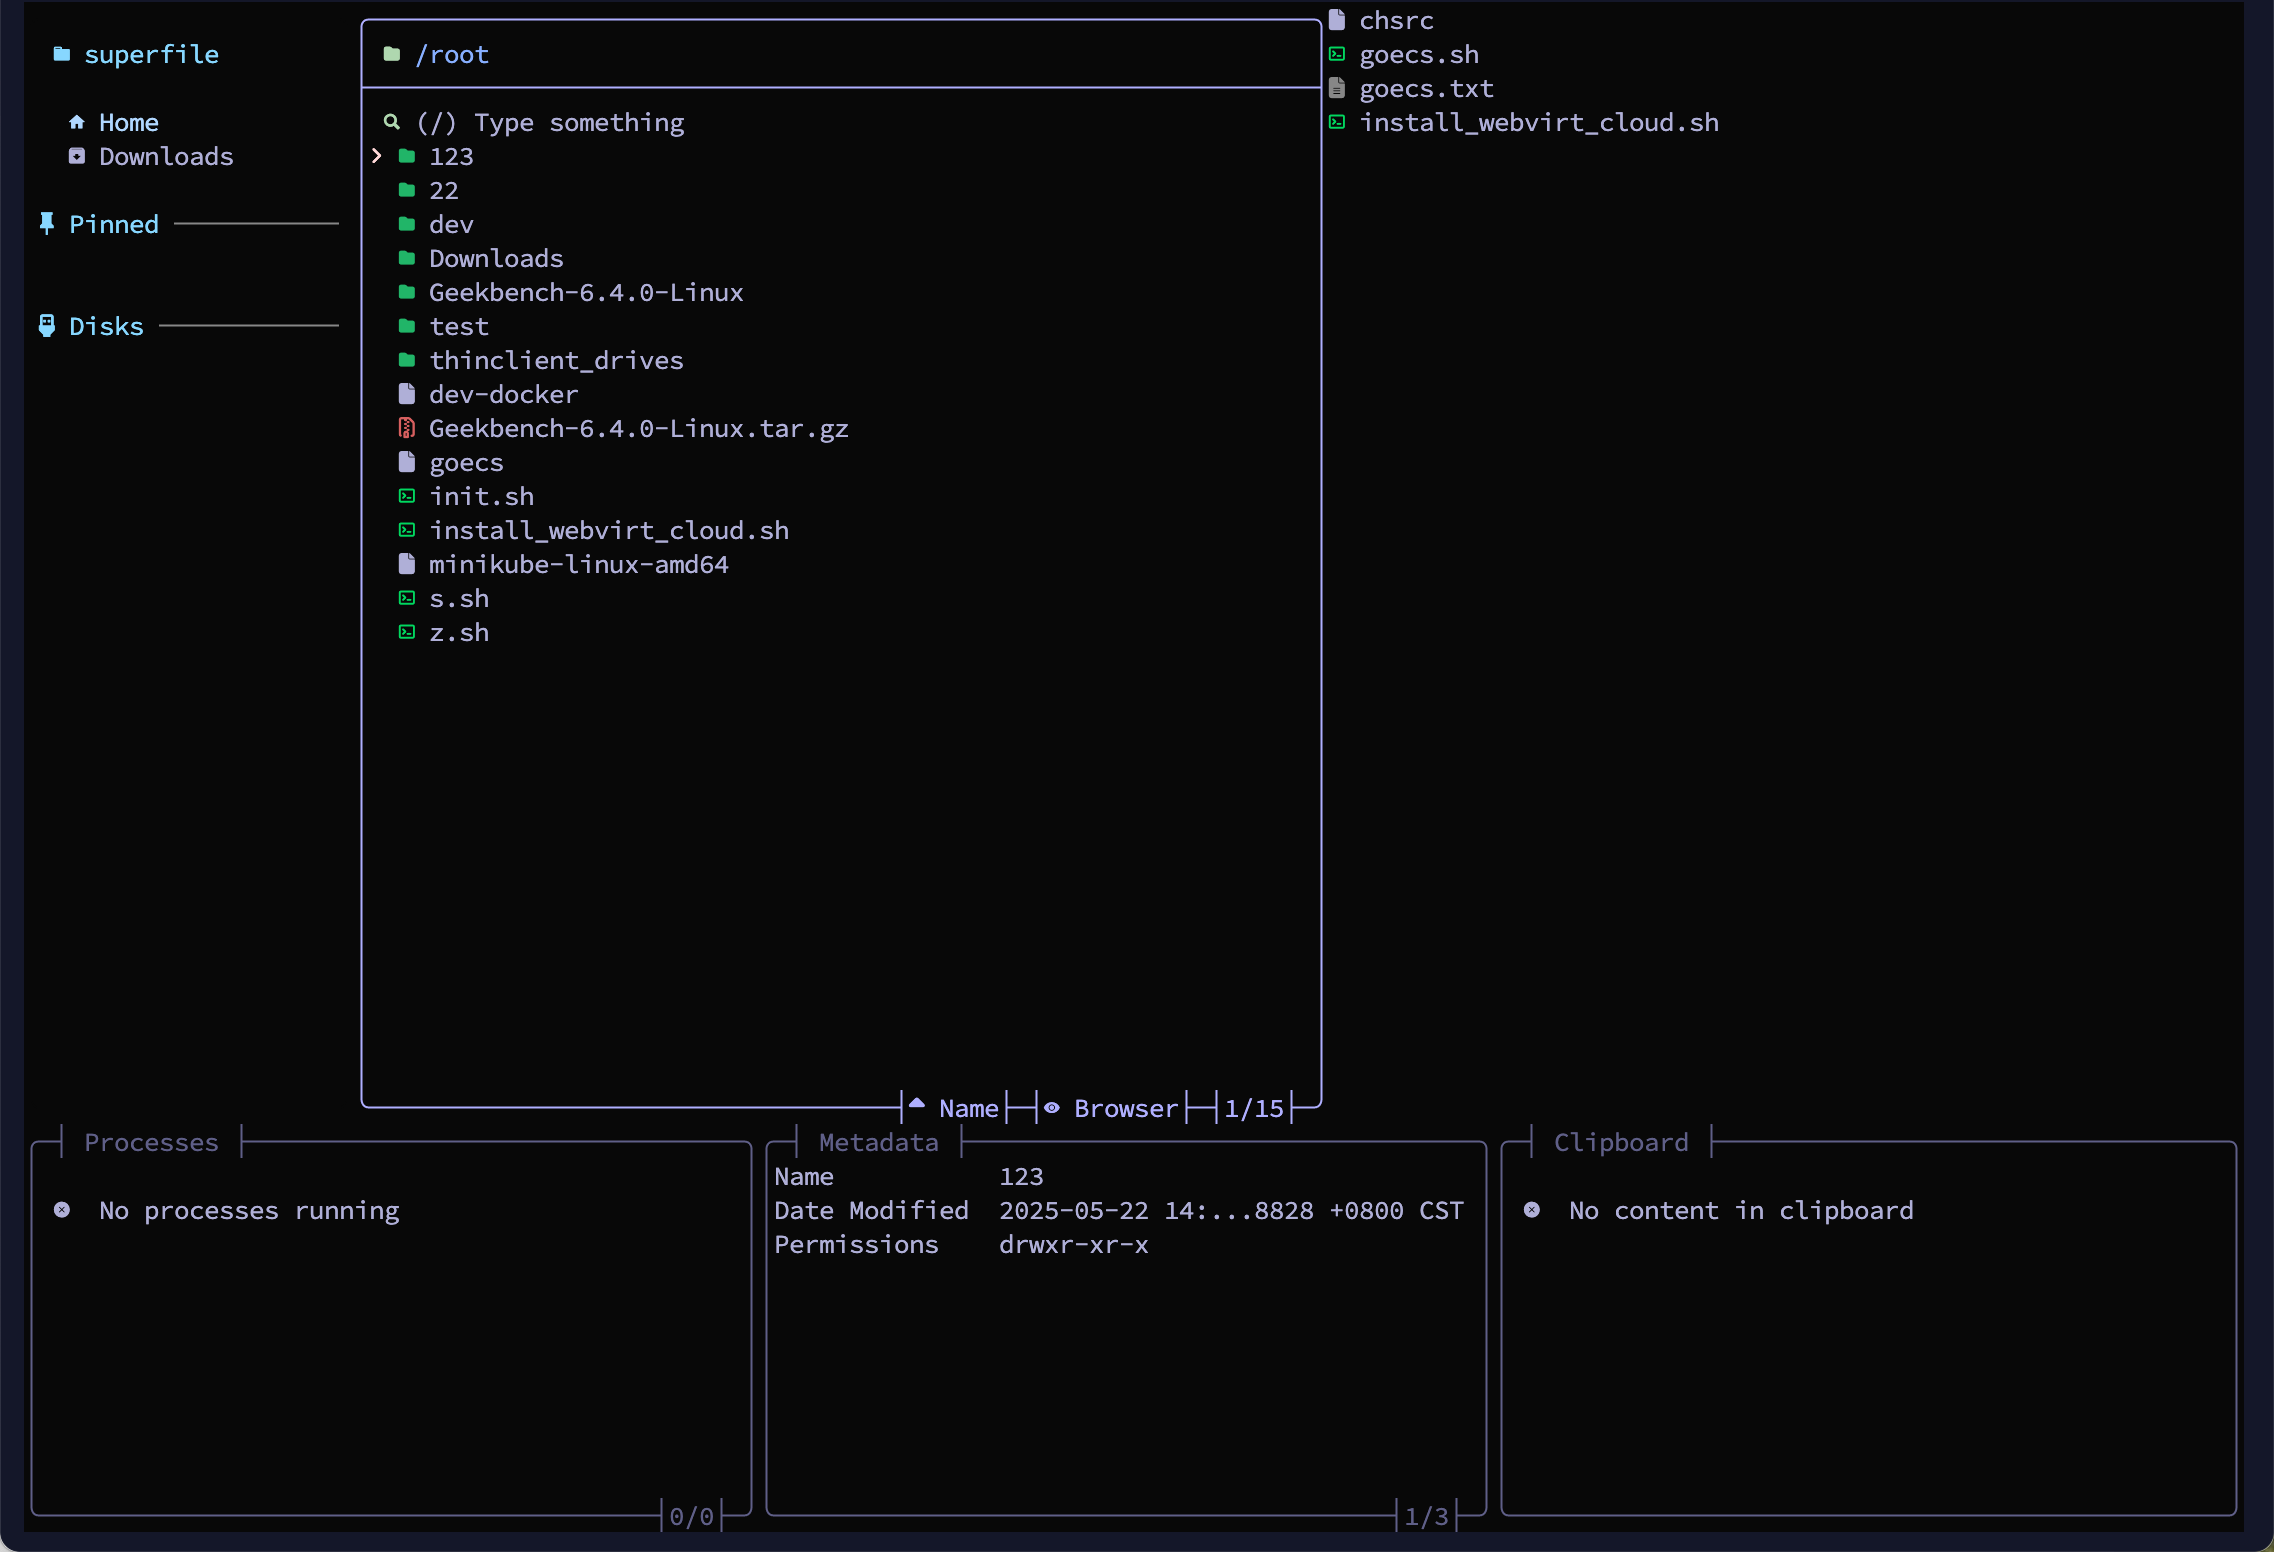
图示效果如下(安装过程中终端自动拉起):
🚀 小结
| 步骤 | 命令 |
|---|---|
| 设置 systemd 服务 | vim ~/.config/systemd/user/bootstrap-packages.service |
| 测试运行 | systemctl --user start bootstrap-packages.service |
| 设置登录自启 | systemctl --user enable bootstrap-packages.service |
| 查看运行状态 | systemctl --user status bootstrap-packages.service |
搭配懒猫微服的 root 持久策略和 systemd 用户服务功能,我们终于实现了:重启自动恢复开发环境,不用每次手动装包了!

评论
0暂无评论